In the previous example character driver code <character driver sample>, we used the “mknod command” to create the device file instance. it is possible to create a device file instance via code in the driver itself allowing the code to come up “on the go”.
The below code snippet provides an example implementation of the same.
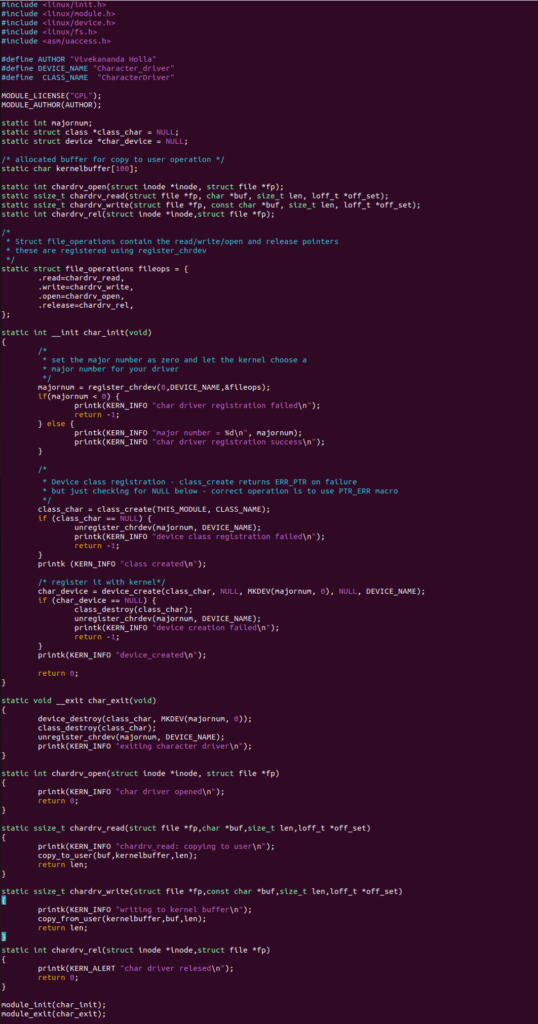
The above code has two specific calls “device_create” and “class_create”. The device_create API creates a dev file and a the newly formed dev file will have an entry in sysfs. the “class_create” API is used to create a class entry under which the the device file is created.
The /sys/class output before and after the character driver is loaded is provided below
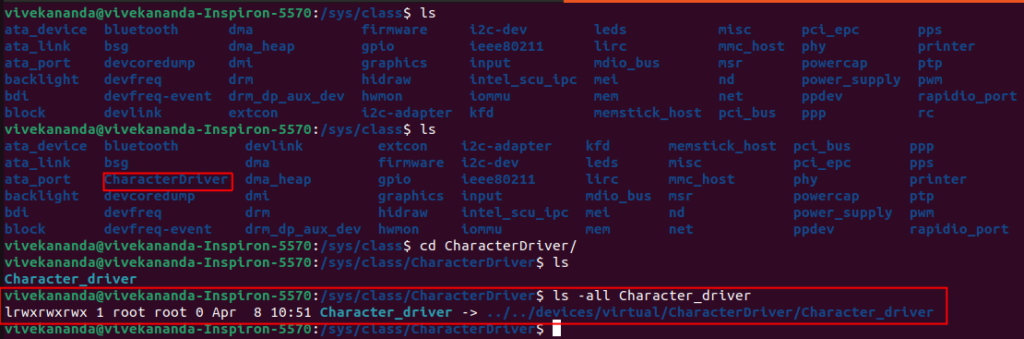
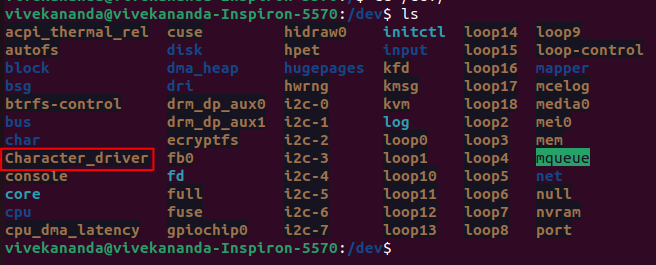
As can be seen in the above output, a class folder entry is created in the /sys/class folder and a device file is created in the /sys/device folder. An entry in the /dev folder is also created which is the device file as shown below
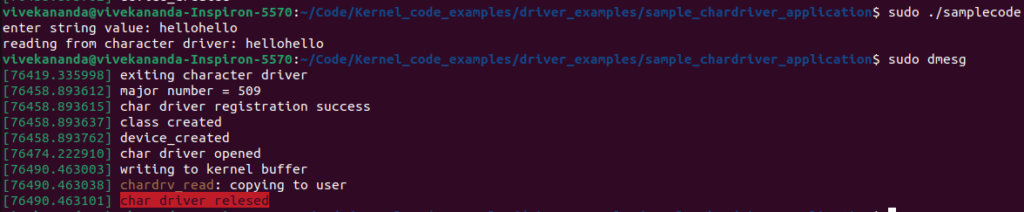
The Character driver is now ready for access. The device can be accessed via the same sample code snippet provided in the previous article <Sample code for Character device driver>. The output of the sample code and dmesg output are placed below
In the next article, we will look at miscellaneous drivers
Pingback: Character device driver sample user space code | Hitch Hiker's Guide to Learning